Add Wireless Drivers
| Before proceeding, ensure that the latest version of your job file is saved to Dynalite Cloud (see Dynalite Cloud > Saving a Job to the Cloud). |
Philips Dynalite Enabler
The Philips Dynalite Enabler (PDE) app connects to wireless drivers over Bluetooth, configures them for the PDZG-E’s Zigbee network key, and assigns each driver to your chosen area/channel(s) in the SB job file via Dynalite Cloud.
| PDE requires an internet connection to access Dynalite Cloud. If there is no internet connection available in the building, you can launch the app and open the project before losing reception. Go inside and commission the project, and then synchronize the data when your device is back online. |
| Always make sure to synchronize the data of the commissioned project. Don’t uninstall the app or change the project as this will prevent synchronization. |
Open Cloud Project
-
Open the app on your device. On the first login, you will be prompted to agree with the Terms of Software Service.
-
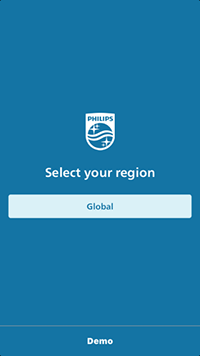
Select your region: Global
-
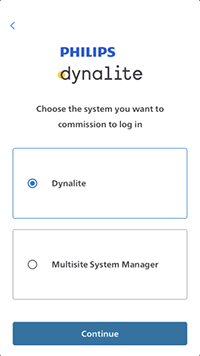
Select the system you want to commission: Dynalite
-
Enter your username (email address) and tap Next.
-
Enter your password and tap Sign in.
|
|
-
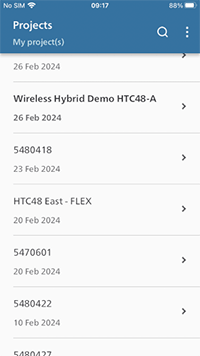
Log in to the app and select the project to commission.
-
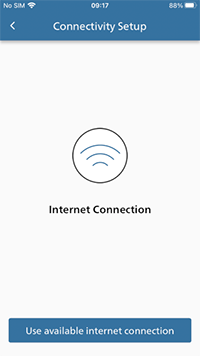
Tap Establish connectivity, then Use available internet connection.
-
The system checks the internet connection.
-
Tap Done.
|
|
Add and Test Drivers
-
In the app, tap Area commissioning.
-
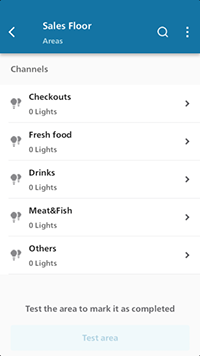
Select an Area and a Channel to commission.
-
Don’t use the Unassigned Area for commissioning.
-
If the app asks permission to use Bluetooth, tap Allow.
-
-
Tap Add lights.
-
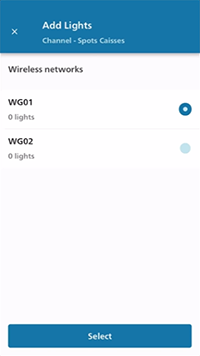
Under Wireless networks, select the required PDZG-E and tap Select.
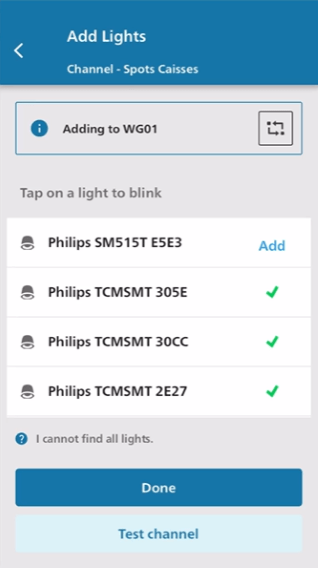
The app performs a Bluetooth scan and lists all discovered drivers. -
Identify each driver by tapping its
 icon to blink the light.
 -
If the blinked light belongs to the current channel, tap Add. Repeat for all lights in the channel.
-
Test the channel (if required) or tap Done to finish.
|
|
|
-
After adding lights to a channel, tap Test channel.
An ON/OFF button appears, showing the current state of the channel’s lights. -
Wait a few seconds for the button to become responsive, then tap it to turn the channel lights on and off.
-
Confirm that all drivers assigned to the channel respond correctly, then tap Done.
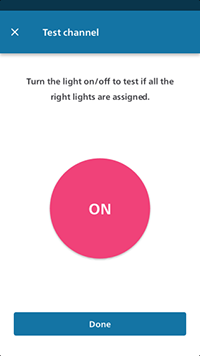
-
After finishing all channels in an area, select the area and tap Test area.
-
As before, use the ON/OFF button to test all channels in the area.
-
After confirming that all in the channel respond as expected, tap Next.
-
Select the status of the area and add a note if required.
-
Tap Done to finish.
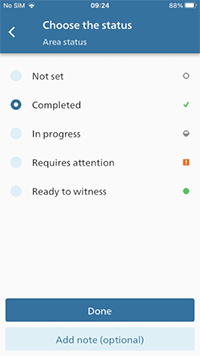
|
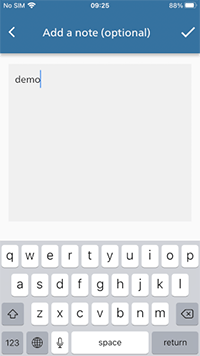
|
Reassign Drivers to a New Network
If a driver is already assigned to the wrong wireless network, follow the steps below to reset and reassign it.
-
In case not all lights can be found, tap I cannot find all lights.
-
Follow the prompts and tap Retry.
-
If the problem persists, tap I cannot find all lights and then I still cannot find all lights.
-
Tap the driver’s
 icon to blink the light. When you find a light that belongs to the channel that you are editing, tap Reset.
 -
Add the light to the channel following the previous procedure.
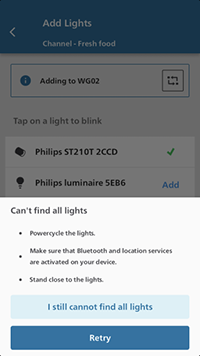
System Builder
You can now open the updated job file in System Builder, either directly via File > Open… ![]() Open Job From Cloud… (Ctrl+Shift+O), or by downloading the file from the Dynalite Cloud web portal.
Open Job From Cloud… (Ctrl+Shift+O), or by downloading the file from the Dynalite Cloud web portal.
| See Dynalite Cloud > Opening a Job from the Cloud for more information. |
Save Wireless Drivers from Dynalite Cloud to PDZG-E
-
In System view, select the PDZG-E and
 Save modified device data to the device (Shift+F12).
 -
Wait for the PDZG-E to update and reset, then click
 Send Device Sign-On (F6) to confirm that it is connected and operational.
Test Wireless Control
There are two methods to test control over DyNet from SB:
-
The Virtual Panel controls all channels in an area.
-
The Presets editor can test individual channels within an area.
-
In the SB Virtual Panel, click the
 Configure icon or press Alt+F9
 -
Select the required area and click .
-
Switch between presets 1 (100%) and 4 (0%) and confirm that all wireless drivers in the area respond correctly.

-
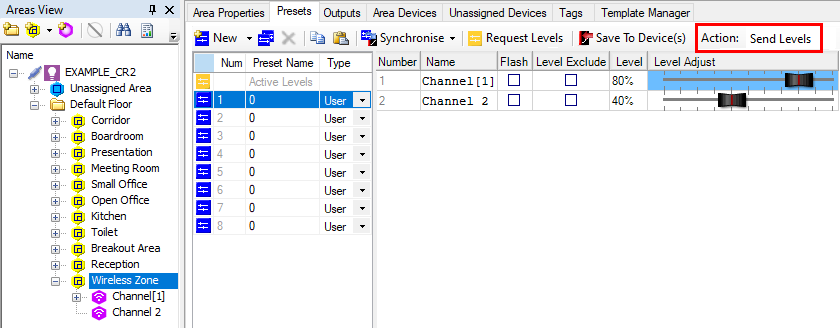
In Areas view, select the required area and open the Presets editor.
-
Set Action to Send Levels.
-
Drag each required channel’s Level Adjust slider between 0% and 100% and confirm that all wireless drivers on the channel respond correctly.
