Schedules
The Schedules Editor enables SB to create and deploy different schedules to the device that are triggered by the internal realtime clock. A series of actions can be defined to run when the schedule is active. The user can also edit, enable or disable schedules in the device.
|
There are two types of schedules:
-
System Schedules are created in SM and run on multiple EGs or on the SM Server. System schedules are only visible in SM.
-
Gateway Schedules are created in SB or from the EG Web pages and run on a single EG. Gateway schedules are only visible in SM when synchronized.
There are two ways to make gateway schedules into system schedules:
-
During job import

-
In the SB Schedules editor, click , then click the button in the dialog box.

|
EG schedules modified in the web pages can be made into system schedules by first selecting the EG and clicking |
The following settings apply to all schedules in the Schedules Editor:
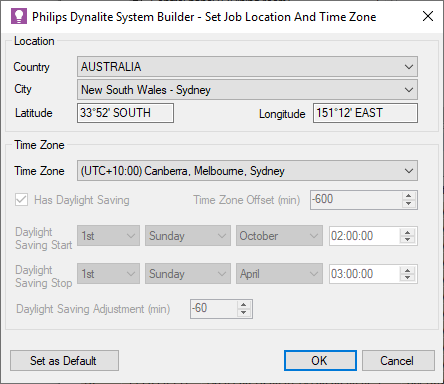
opens the Set Device Location and Time Zone dialog box. Click to change the location and time zone for the device, if different from your current location.
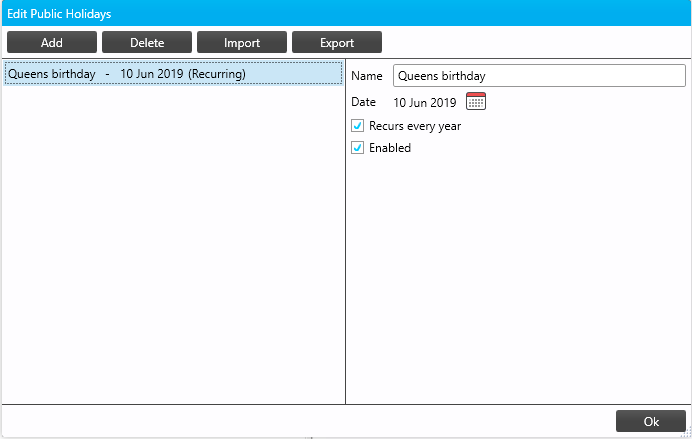
opens the Edit Public Holidays dialog box. Click to add, delete, edit, import (.xml or .ics), and export public holidays for your region. You can include all or exclude all public holidays in a schedule.
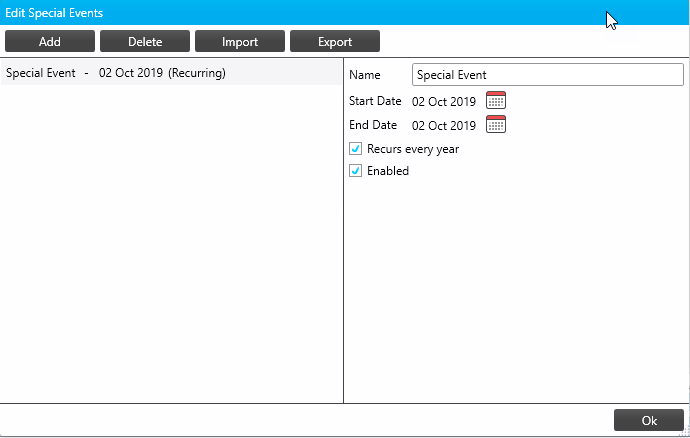
opens the Edit Special Events dialog box. Click to add, delete, edit, import (.xml), and export special events for your region. Special events temporarily override normal operational schedules.
-
Select the EG in System view.
-
Open the Schedules tab.
-
Click the button to add a new schedule to the Schedules list.
-
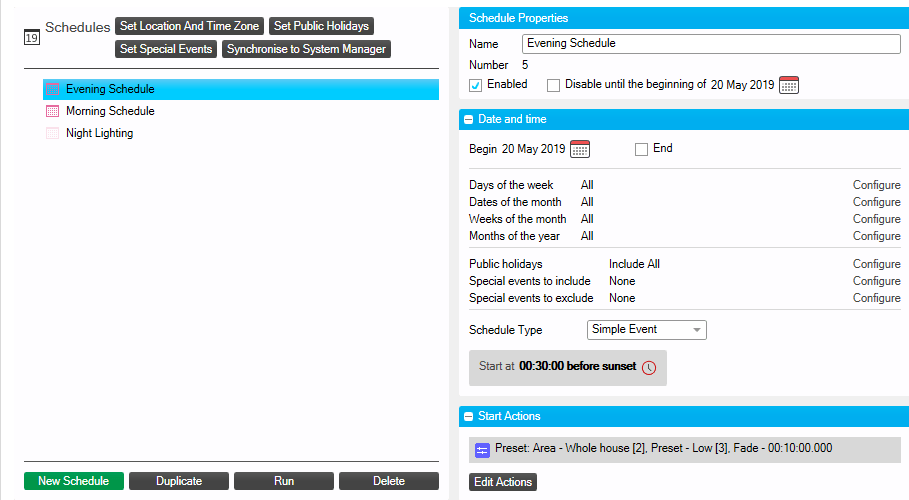
Select the schedule in the list to edit the Schedule Properties.
| You can click the button to add a new schedule with the same properties or click the button to remove a schedule from the list. If you are connected to the EG, you can click the button to test a schedule. |
-
Under Schedule Properties, enter a Name for your schedule (the schedule’s Number is displayed below the name).
-
Tick the Enabled checkbox to enable the schedule after it is configured.
To set an active period for the schedule, you can then tick the Disable until the beginning of… checkbox. -
Ensure that the Unused checkbox is unticked unless specifically required. If ticked, this setting permanently disables the schedule, and it can only be changed via SB or the gateway API.
-
Tick or untick the Suspendable checkbox as required. When the device receives a suspend/unsuspend command over DyNet, ALL suspendable schedules on the device are affected.
-
Select the Begin and End (if applicable) date to set the date range for the schedule. To run the schedule indefinitely, untick the End checkbox .
-
Click Days of the week > Configure and selecting the days you want your schedule to run.

-
Click Dates of the month > Configure and selecting the dates in the month you want your schedule to run.
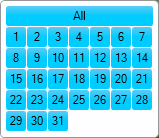
-
Click Weeks of the month > Configure and selecting the weeks of the month you want your schedule to run.
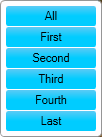
-
Click Months of the year > Configure and selecting the months in a year you want your schedule to run.
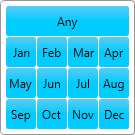
-
Click Public holidays > Configure to determine whether the schedule should run on public holidays:
-
Click Edit to add, delete, import, or export public holidays.
-
Include All runs the schedule on all public holidays, regardless of the day/date/week/month.
-
Exclude All does not run the schedule on any public holidays, regardless of the day/date/week/month.
To ONLY run the schedule on public holidays, select Include All, then set Days of the week, Dates of the month, Weeks of the month and Months of the year to None.
-
-
Click Special events to include/exclude > Configure and select specific special event days as needed.
-
Click Edit to add, delete, import, or export special events.
To ONLY run the schedule on the selected special event days, set Days of the week, Dates of the month, Weeks of the month and Months of the year to None. Schedules run on all included special event days, regardless of the day/date/week/month.
Schedules do not run on any excluded special event days, regardless of the day/date/week/month. -
-
Set the Schedule Type to a Simple Event or Timed Event. image::sb/sb_schedule_type.png[]
-
Specify the Start at time, Tick every interval (timed events) and Stop at time (timed events) for your schedule. The Start at/Stop at time can be absolute or relative to sunrise/sunset.
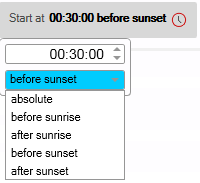
|
Simple and Timed Events
A Simple Event allows you to add Start Actions to your schedule. Starting a schedule triggers the start actions. 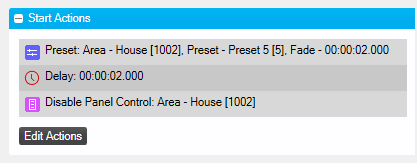
A Timed Event also supports additional Stop Actions and Tick Actions. Ending the schedule triggers the stop actions, while tick actions are triggered at the specified intervals (ticks) until the schedule stops. 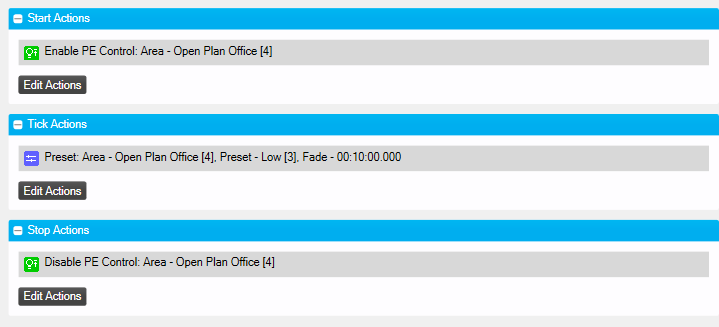
|
|
SB uses the following logic to decide whether to run a schedule: Day and Week and Month and Date and included public holidays and not-excluded public holidays and included special events and not-excluded special events. |
-
Specify the time(s) at which to trigger the Start/Stop Actions. The time can be set as:
-
Absolute
-
Before sunrise
-
After sunrise
-
Before sunset
-
After sunset
-
-
Click the button to open the Action Editor.
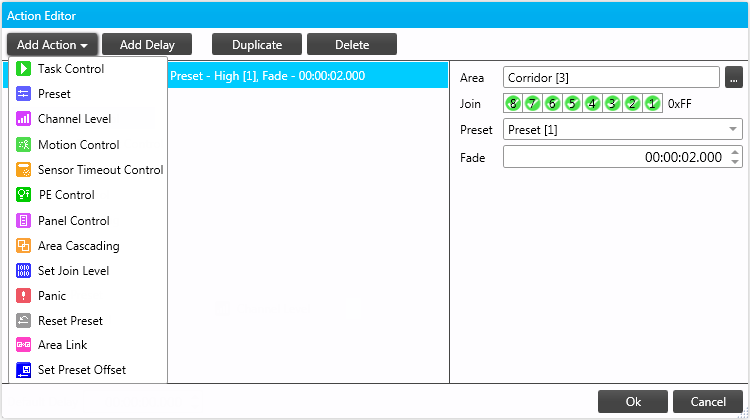
-
Click the button and select an action from the list.
-
Configure the action properties on the right-hand side.
-
Click the button to add a delay between actions, if required.
-
Click the button again to add further actions, if applicable.
-
When finished, click the button to add the action sequence to the schedule.
| To repeat any action in the sequence, select the action and click the button. |