Assigning DALI Devices to an Area
You can change the area where a DALI device is located from Areas or System view.
There are three methods to assign device to an area:
-
In Areas view, drag and drop from the Unassigned Devices editor to an existing area.
-
In System view, configure the area in Device Properties editor (ensure that
 Advanced is enabled).
 -
Sensors: In System view, right-click the device and select
 Sensor Configuration Wizard.
-
Open the Unassigned Devices editor.
-
Drag the DALI device to the required area in the Areas tree.
-
Select the area in the Areas tree.
-
Open the Area Devices editor to confirm that the device has been placed successfully.

|
If a DALI device is in the Unassigned Area (Area 1) but you have specified another area number in the System view Device Properties editor, then the DALI device will appear in both the Area Devices and Unassigned Devices editors. To entirely remove a DALI device from an area, ensure that all properties only reference the Unassigned Area (Area 1). |
| Right-click the column headings to select which columns are displayed. |
-
In the System tree, select a DALI device and click
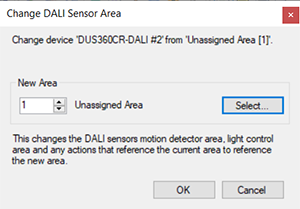
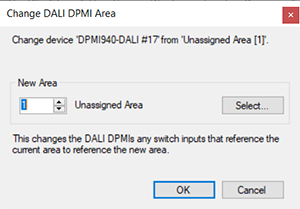
 Change Area (Alt+A) to open the Change DALI [device] Area dialog.
 -
Either:
-
Enter the New Area number.
Or:
-
Press the button to open the Area Selection dialog.
Select the required area and click to return.
-
-
Click to finish.

|

|