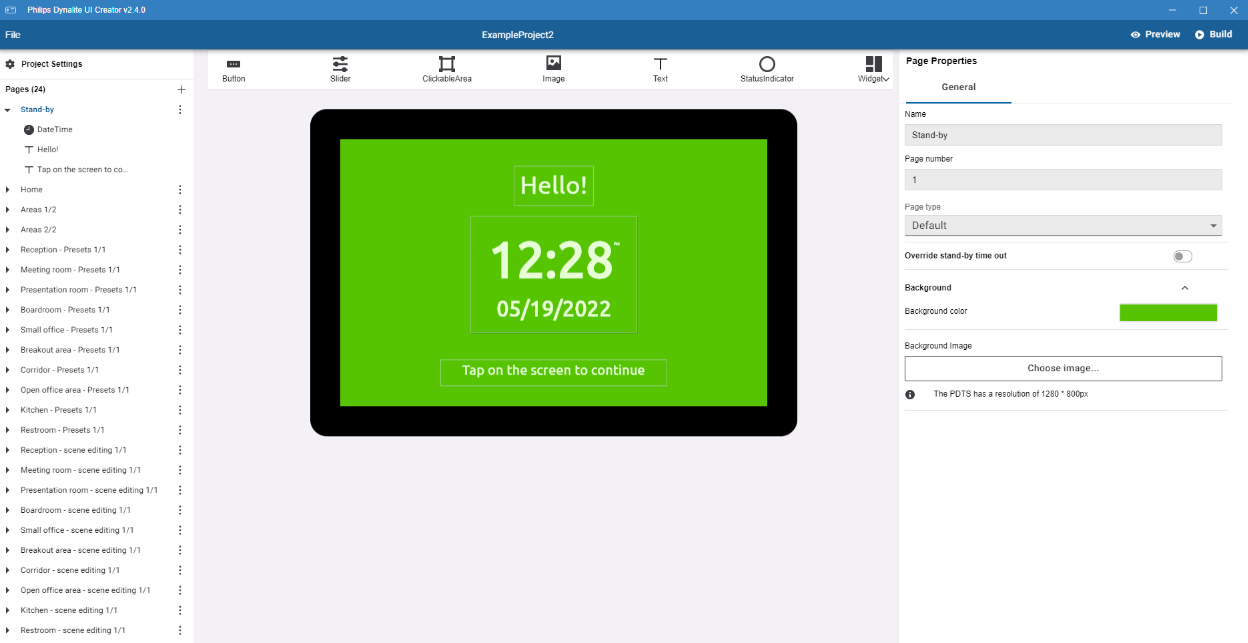
Creating/Opening Projects in the UI Creator
-
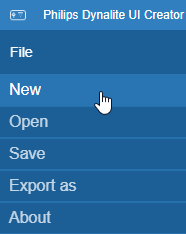
Click File > New.
-
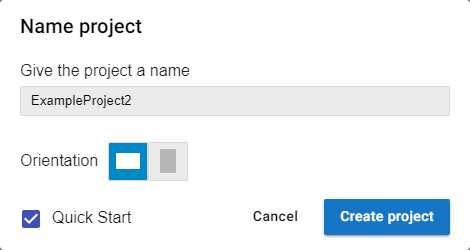
Name your project, select landscape or portrait Orientation, then click Create project.
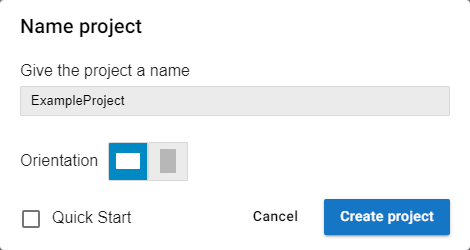
If Quick Start is selected, the Quick Start Wizard will guide you through the process of building a UI from your project’s System Builder XML file, or from a dummy file that can be modified later - see Quick Start for more information.
-
For portrait orientation, ensure that Device Properties > Screen Rotation Angle in System Builder is set to 90°.

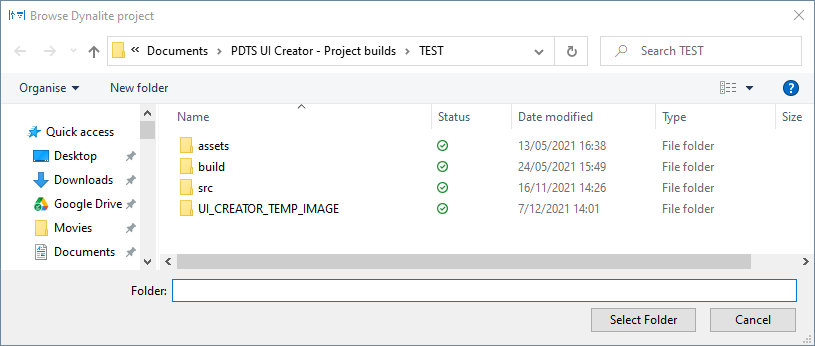
Build folders must be saved to This PC > Documents > PDTS UI Creator - Project builds.
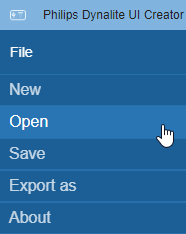
. Click File > Open.
+
-
Navigate to the project folder and click Select Folder.
Quick Start
The Quick Start Wizard guides you through the process of building a UI based on logical and device data XML files from System Builder.
These files are automatically exported to your UI project folder when you copy the job details from System Builder, or you can export them manually.
-
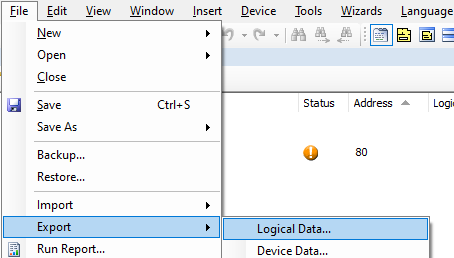
With the job file open in System Builder, click File > Export > Logical Data…
-
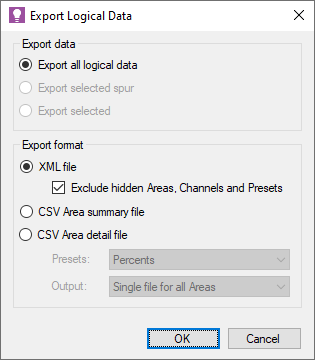
Ensure that Export all logical data, XML file, and Exclude hidden… are selected, then click and follow the prompts to save the file.
-
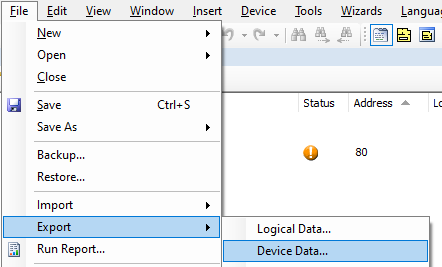
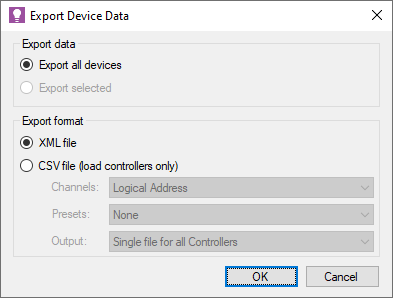
Click File > Export > Device Data…
-
Ensure that Export all devices and XML file are selected, then click and follow the prompts to save the file.
You are now ready to proceed in the UI Creator.
Build Your UI With the Quick Start Wizard:
-
When creating a new project in the UI Creator, select Quick Start and click Create Project.
-
Choose your XML files (or select I don’t have an XML project and device file yet to proceed with a dummy file) and click Next.
+
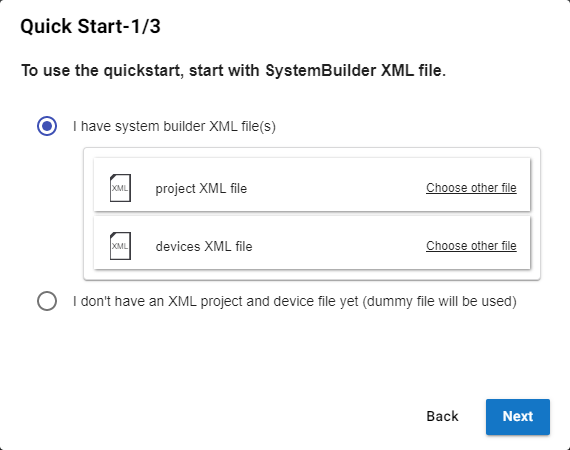
The dummy file provides up to 29 configurable areas (#2-30) with 8 channels and 8 presets per area. -
Select the Areas, Channels, and Presets to include in the UI, then click Next.
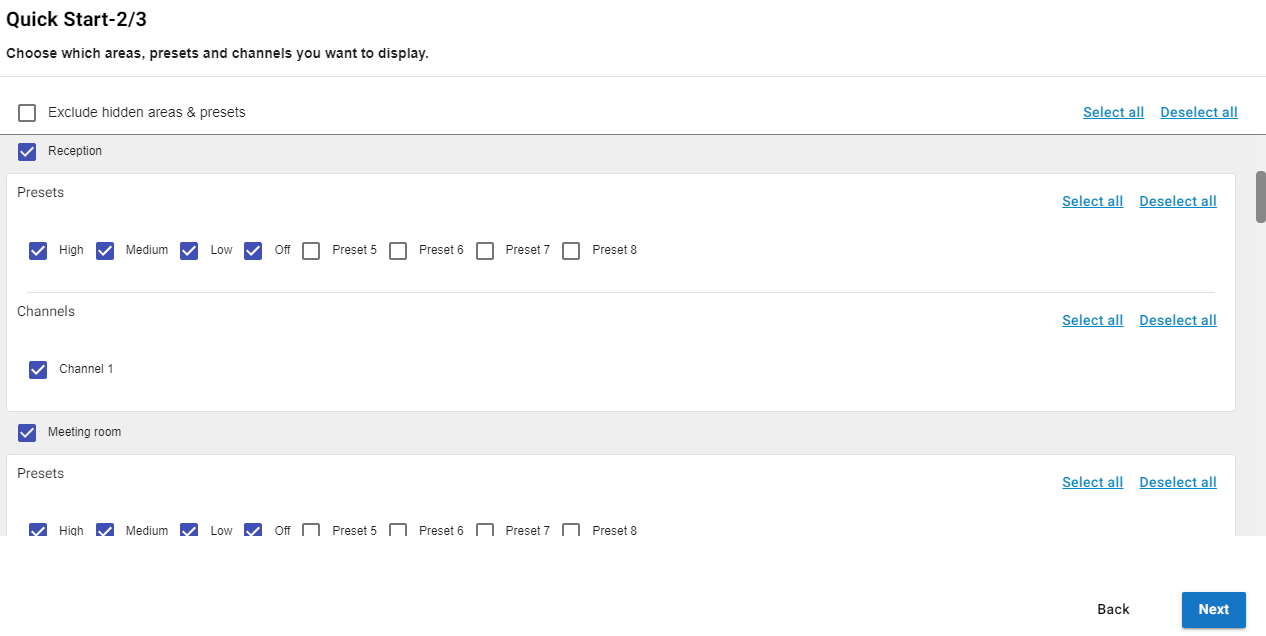
-
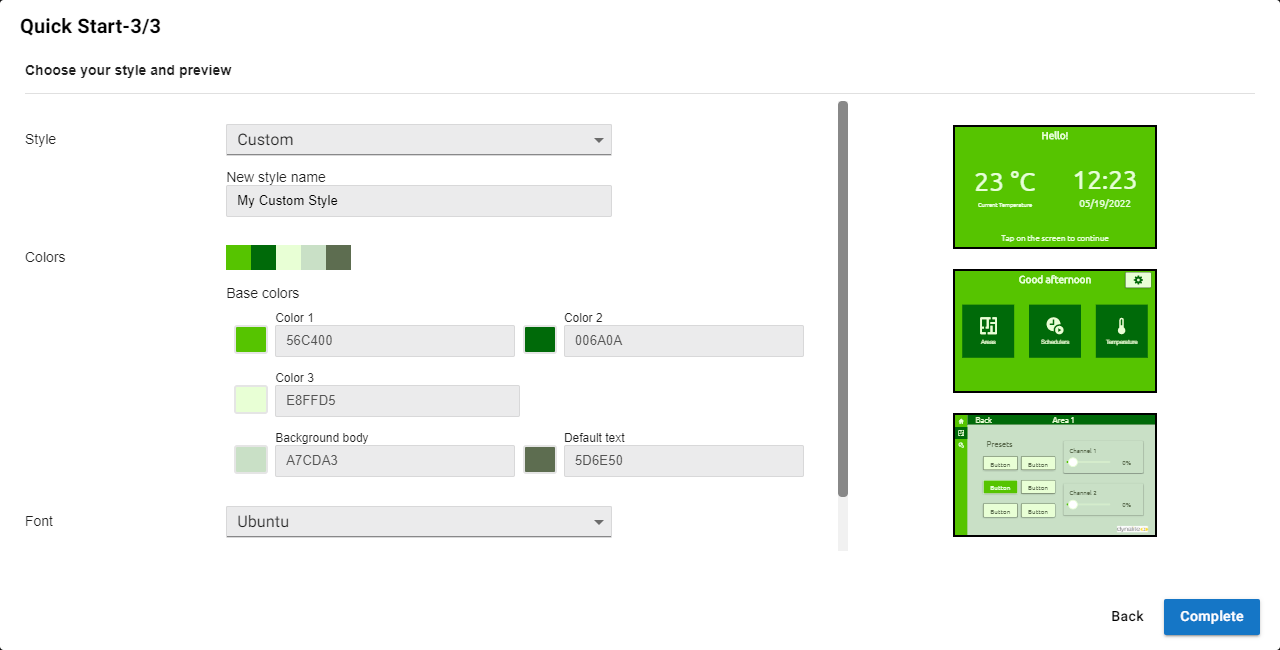
Select the default Philips style or create your own Custom style and with selected colors and fonts.
When you are finished, click Complete to save your new UI.
-
Click Build in the top right corner of the window to save your new UI, or make further modifications - see UI Pages and UI Components.
