Viewing Floor Plans
Each floor plan is exported as a part of the System Builder project file.
To switch between multiple plans, select the desired plan from the Tree frame.
Map Controls
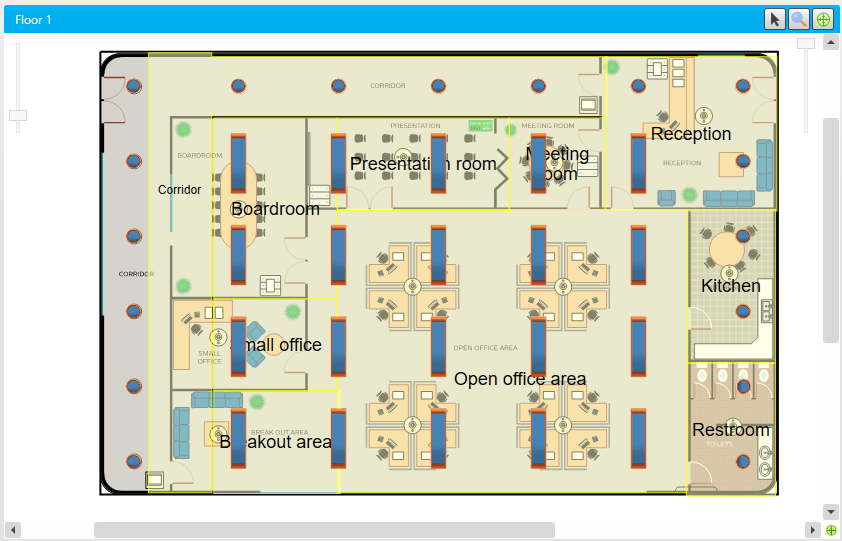
Zoom in or out using your mouse scroll wheel, the zoom slider at the top left of the frame, or the ![]() Zoom tool.
Zoom tool.
Use the ![]() Pointer tool to select areas, fixtures, and devices on the floor plan.
Pointer tool to select areas, fixtures, and devices on the floor plan.
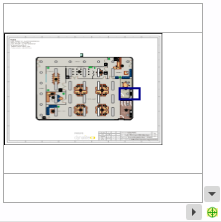
The ![]() Mini-Map tool shows a small popup replica of the entire floor plan in the bottom right, with a dark blue rectangle indicating your current viewer position. This is especially useful for finding your place when zoomed in on larger plans.
Mini-Map tool shows a small popup replica of the entire floor plan in the bottom right, with a dark blue rectangle indicating your current viewer position. This is especially useful for finding your place when zoomed in on larger plans.
The Opacity slider in the top right corner adjusts the visibility of the Background Image layer, which contains the original floor plan image. Lowering opacity makes it easier to see areas, fixtures, and other layers above it.
Click here to expand touchscreen controls
The Site Map supports the following touchscreen gestures on Microsoft Surface and other compatible multitouch Windows devices.
-
Use two fingers to pan around the map, and pinch to zoom.
When the ![]() Pointer tool is selected:
Pointer tool is selected:
-
Double tap on a fixture icon to bring up the level controls.
-
Use a single finger tap and select a fixture icon, or drag to select multiple icons.
When the ![]() Zoom tool is selected:
Zoom tool is selected:
-
Use a single finger and drag to draw a zoom region.
-
Long-press to zoom out by one increment.
Tooltips
Hover the cursor over any area, fixture, or device to view a tooltip with information. Area tooltips include preset scene selection and channel level controls.
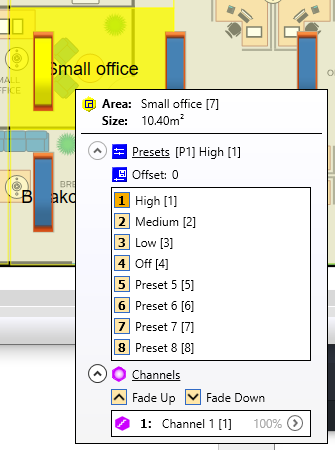
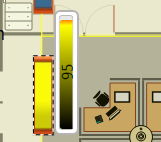
Double-click a fixture before the tooltip appears to open a channel level slider.
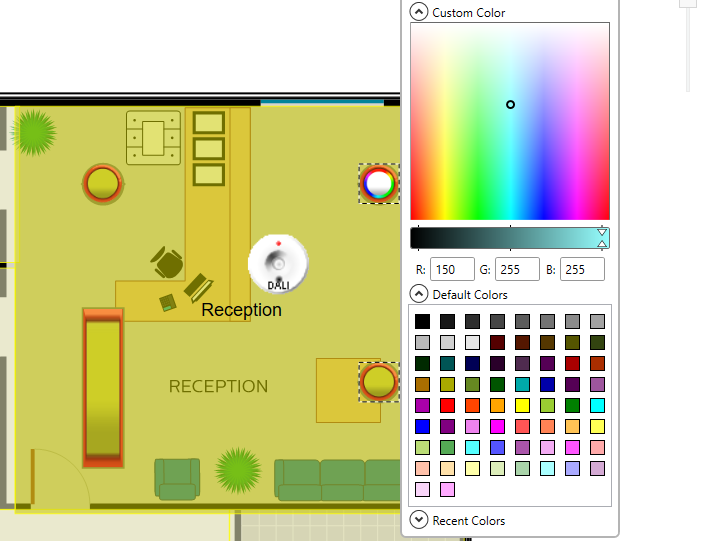
Double-click an RGB or RGBWAF fixture to open a color selection popup.
