Grouping Areas With Tags
Tags are created in System Builder, and enable a single action to target multiple areas at once. This applies to actions used by:
Creating Tags in System Builder

-
In the Areas view, open the Tags tab (or click Tools > Tag Editor).
-
OPTIONAL: If you would like to organise your tags into folders:
-
Click Add Folder as many times as required.
-
Rename each folder for easy identification
-
Select a folder before proceeding to the next step, as tags cannot be moved once created.
-
-
Click Add Tag to create a new tag.
-
Rename the tag for easy identification.
-
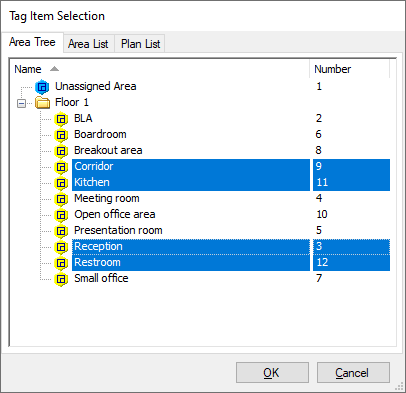
Click Add Area or Add Plan to open the Tag Item Selection window.
-
Select which area(s) or plan(s) to add to the tag. Hold Ctrl and click to select multiple items, or Shift and click to select a range. Click OK to save your selection.

-
To remove folders, tags, or areas, select the item(s) and click the Delete button at the top of the editor.
-
Click File > Save As… > Save to Database… to save your changes to the System Manager server.
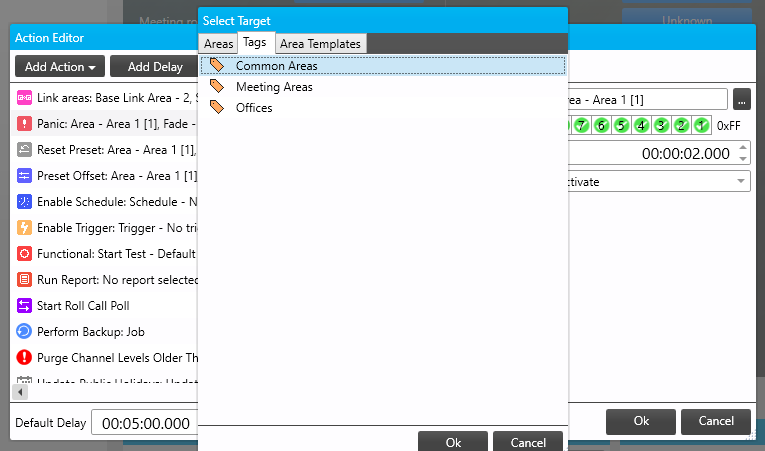
In the System Manager Action Editor, your new tags are now selectable in the Target property dropdown list. Any action targeted at a tag is applied to all tagged areas.

|
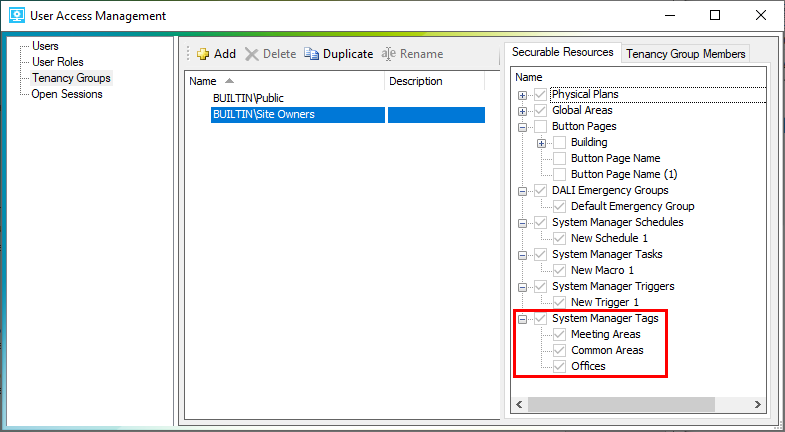
You can make individuals tags available to specific users via Tenancy Groups in System Manager Configuration. + Navigate to Manage Users > Tenancy Groups > Securable Resources > System Manager Tags and select or deselect tags as required. 
|